
Mastering Post-Production Editing for Aerial Footage: Tips from the Pros


Understanding the Basics of Post-Production Editing
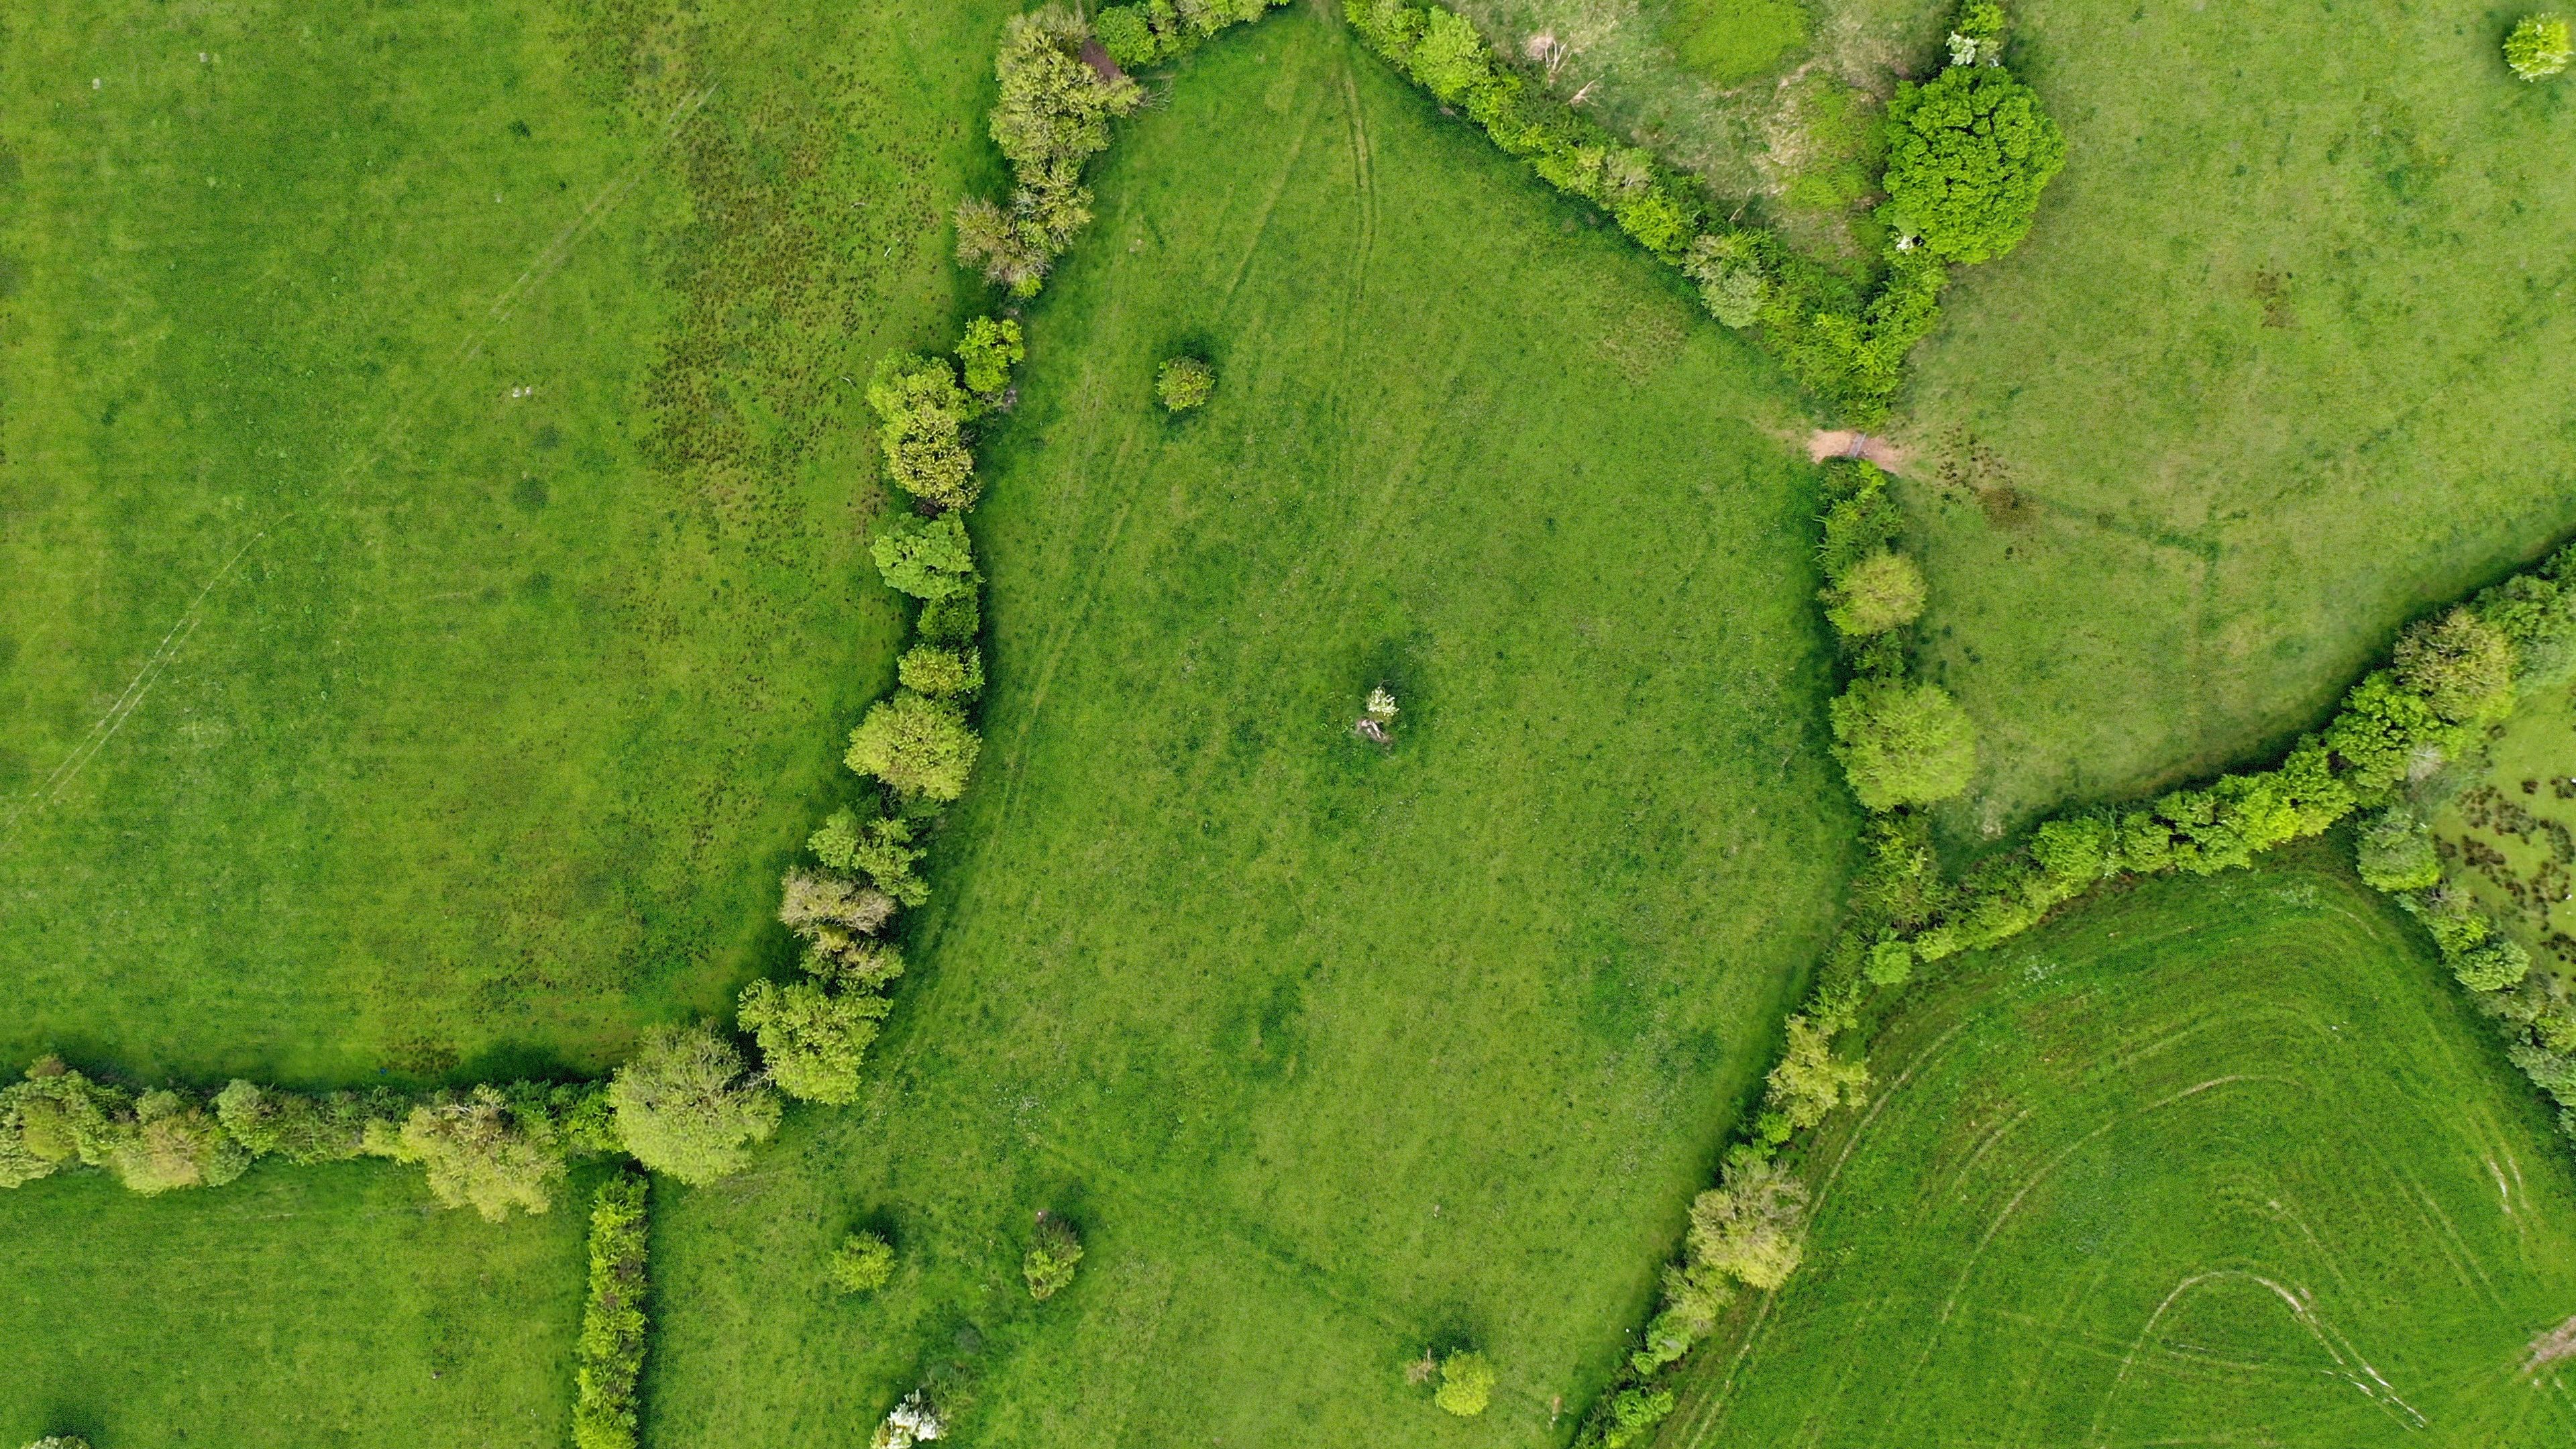
In the realm of aerial footage, post-production editing is a crucial step that transforms raw footage into captivating visual stories. Whether you're capturing breathtaking landscapes or dynamic urban scenes, understanding the basics of post-production can significantly enhance your final product. Before diving into the editing process, it's essential to have a clear vision of the story you want to tell. This will guide your editing decisions and ensure a cohesive narrative.
Start by selecting the best shots from your footage. Consider factors such as composition, lighting, and movement. Keeping your clips organized will streamline the editing process and make it easier to piece together your story. Remember that less is often more; focus on quality over quantity to maintain viewer engagement.
Utilizing Advanced Editing Software
Choosing the right editing software can make a significant difference in your workflow and the quality of your final product. Professional editors often recommend software like Adobe Premiere Pro, Final Cut Pro, or DaVinci Resolve for their robust features and flexibility. These programs offer advanced tools that can help you refine your aerial footage with precision.
Take advantage of features like color correction, stabilization, and speed adjustment to enhance your footage. Learning to use these tools effectively can elevate your work from amateur to professional. Don't hesitate to explore tutorials and online courses to hone your skills in using these advanced software programs.
Color Grading for Aesthetic Appeal
Color grading is an art form that can dramatically alter the mood and tone of your footage. By adjusting colors, you can evoke specific emotions and create a distinct visual style. It's essential to maintain balance and avoid over-saturating or excessively altering your footage, which can detract from its natural beauty.
Professional editors often suggest starting with basic color correction to address any exposure or white balance issues before moving on to creative grading. Tools like LUTs (Look-Up Tables) can be incredibly useful in achieving consistent color grading across your footage.
Mastering Audio for Enhanced Storytelling
While stunning visuals are crucial, audio plays a significant role in storytelling. Properly synced audio can enhance the immersive experience of your aerial footage. Consider incorporating ambient sounds, music, or voiceovers to complement your visuals and reinforce your narrative.
Using high-quality microphones during recording can ensure cleaner audio tracks. In post-production, tools like noise reduction and equalization can help refine audio quality. Always pay attention to audio levels to prevent distortion or overpowering background noise.
Incorporating Special Effects
Special effects can add an extra layer of creativity to your aerial footage. Effects such as slow motion, time-lapse, or motion graphics can enhance storytelling and captivate viewers. However, it's important to use these effects sparingly to avoid overwhelming your audience.
When incorporating special effects, ensure they align with the overall tone and purpose of your footage. Consistency in style and execution across your project will maintain a professional appearance and keep viewers engaged.
Finalizing Your Project
The final stage of post-production involves exporting your project in the appropriate format for its intended platform. Consider the resolution and aspect ratio required for platforms like YouTube, Vimeo, or social media channels. Export settings will vary depending on the platform, so familiarize yourself with their specifications to ensure optimal quality.
Before finalizing, review your project thoroughly for any inconsistencies or errors that may have been overlooked during editing. A fresh pair of eyes or feedback from peers can be invaluable in identifying areas for improvement.