Post-Production Editing for Aerial Footage: Enhancing Your Video Content
In the world of digital media, aerial footage has become a vital component of captivating video content. The use of drones has made it easier than ever to capture stunning views from above, but the real magic happens in post-production. Editing aerial footage can transform raw video into a polished masterpiece that engages and inspires your audience.

Understanding the Basics of Aerial Footage Editing
Post-production editing for aerial footage involves several key steps aimed at enhancing the visual appeal and storytelling of your video. It's important to start with a clear vision of what you want to achieve and a detailed plan for how to get there. This process typically includes color correction, stabilization, and cutting and trimming clips to highlight the best moments.
Color Correction and Grading
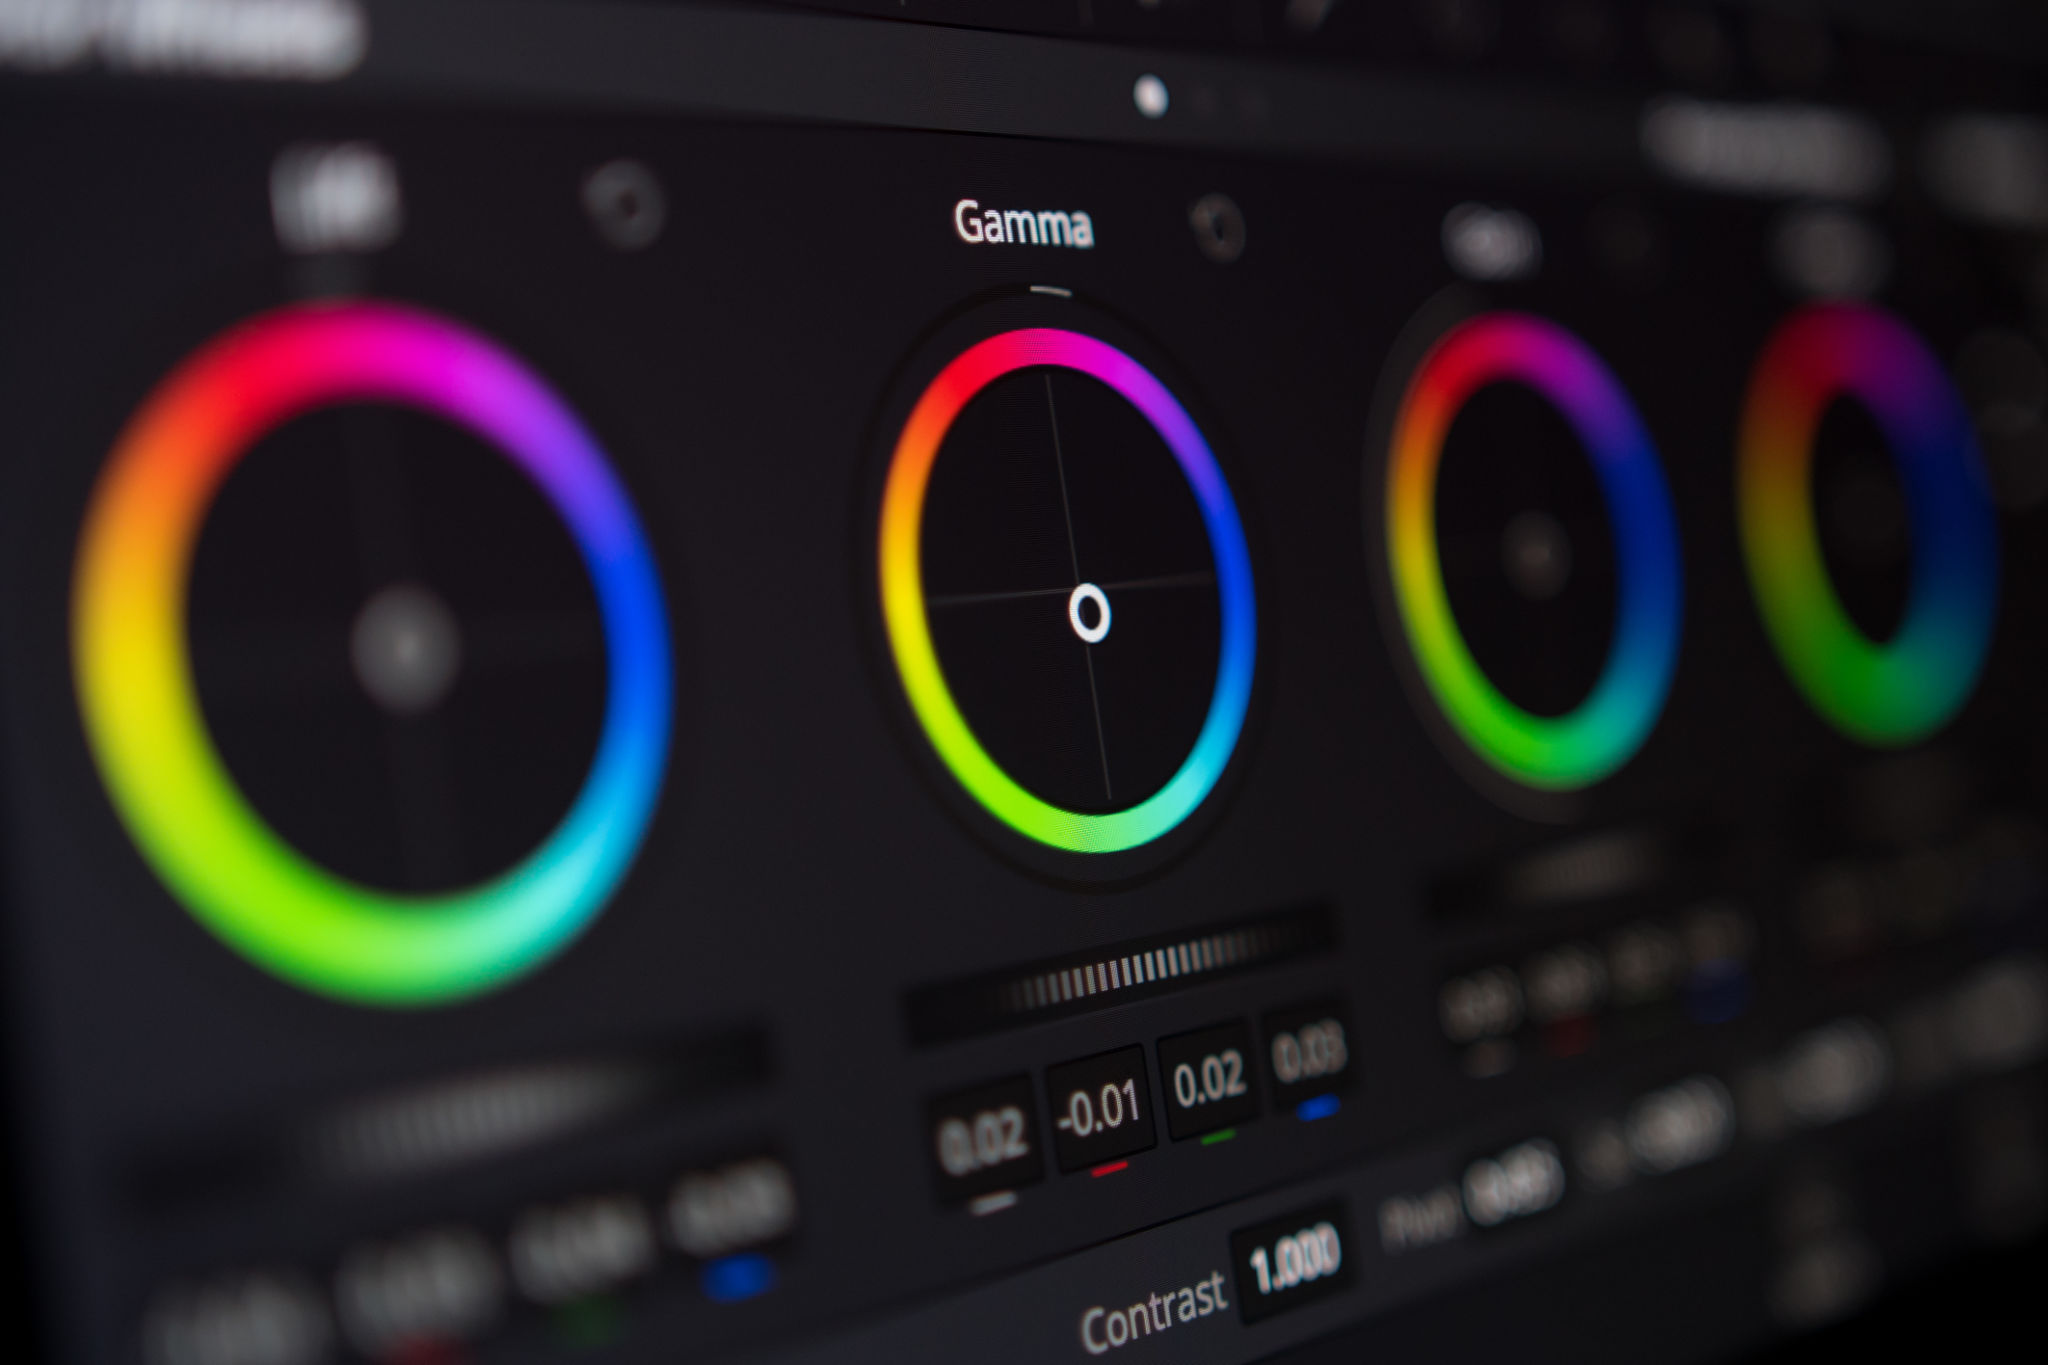
One of the first steps in editing aerial footage is color correction and grading. This process ensures that your video has consistent lighting and a professional look. Adjusting the color balance, contrast, and saturation can make a significant difference in how your footage is perceived. It’s crucial to maintain a natural look while enhancing the colors to make them pop.

Stabilization Techniques
Even with advanced technology, drone footage can often appear shaky due to wind or sudden movements. Utilizing stabilization techniques in post-production can help smooth out these jitters. Software tools like Adobe Premiere Pro or Final Cut Pro offer features that automatically stabilize footage, providing a more polished result that doesn’t distract viewers.
Cutting and Trimming for Maximum Impact
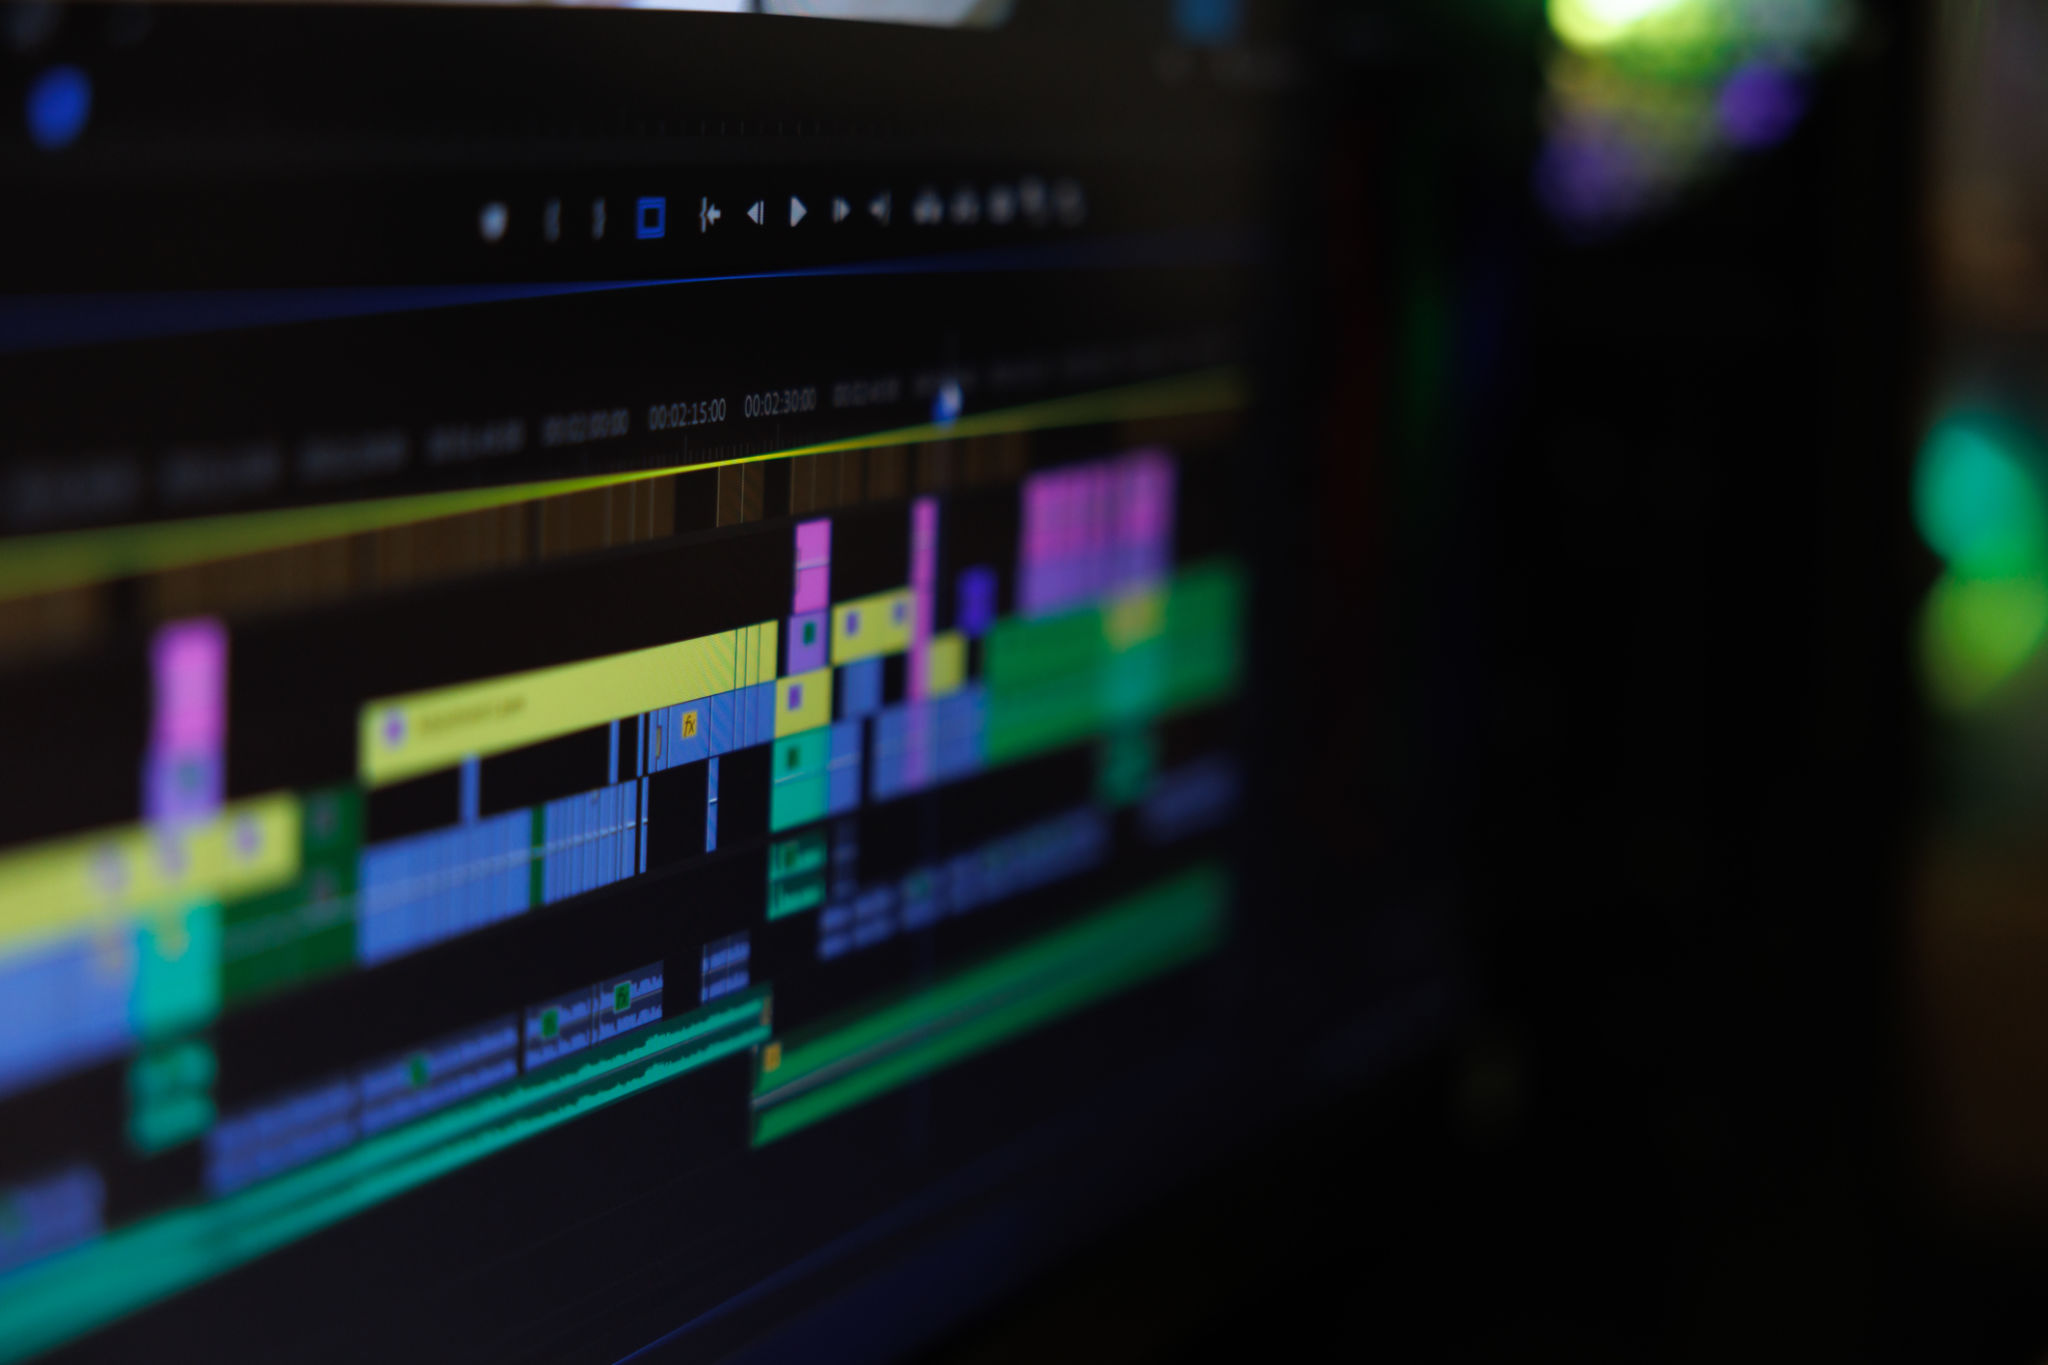
Editing involves more than just fixing technical issues; it’s about telling a compelling story. Cutting and trimming your aerial footage allows you to focus on the most impactful moments. Start by identifying the shots that best convey your message and remove any unnecessary or repetitive scenes. This practice keeps your audience engaged from start to finish.

Incorporating Transitions and Effects
Once you have your primary clips selected, consider adding transitions and effects to enhance the viewing experience. Smooth transitions between scenes can guide the viewer’s eye and create a cohesive narrative flow. Effects like slow-motion or time-lapse can add drama and highlight specific details, making your video more dynamic.
Adding Music and Sound Design
Sound plays a crucial role in the emotional impact of your video content. Carefully selected music and sound effects can elevate the mood and complement the visual elements of your aerial footage. Ensure that the audio levels are balanced, and consider synchronizing music with scene changes for an immersive experience.
Finalizing Your Masterpiece
With all the elements in place, it’s time to review your work and make any final adjustments. Pay attention to details such as timing, pacing, and overall flow. A thorough review ensures that your video is polished and ready for distribution across various platforms.
By investing time in post-production editing, you not only enhance the quality of your aerial footage but also elevate your entire content strategy. Whether you're creating promotional videos, documentaries, or personal projects, effective editing techniques can transform your aerial shots into breathtaking visual stories that resonate with your audience.
